Post by Crazyrabidpony on May 25, 2009 21:44:40 GMT -5
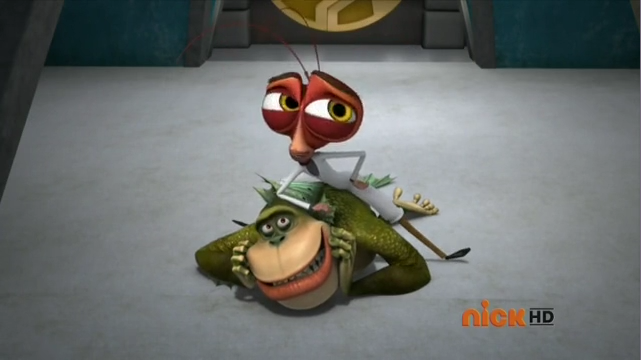
Okay! Here is the muchly anticipated tutorial on how to draw Dr. C! You'll need the same tools as before, only a few different colors.
Colors You'll Need:
1. Black.
2. Terra Cotta.
3. Burnt Ochre.
4. Raw Umber.
5. Dark Brown.
6. Canary Yellow.
7. Yellow Orange.
8. Orange.
9. Flesh.
10. Light Flesh.
11. Blush.
12. Ultramarine.
13. Warm Grey Very Light.
14. Cold Grey Light.
15. White.
Let's get started!
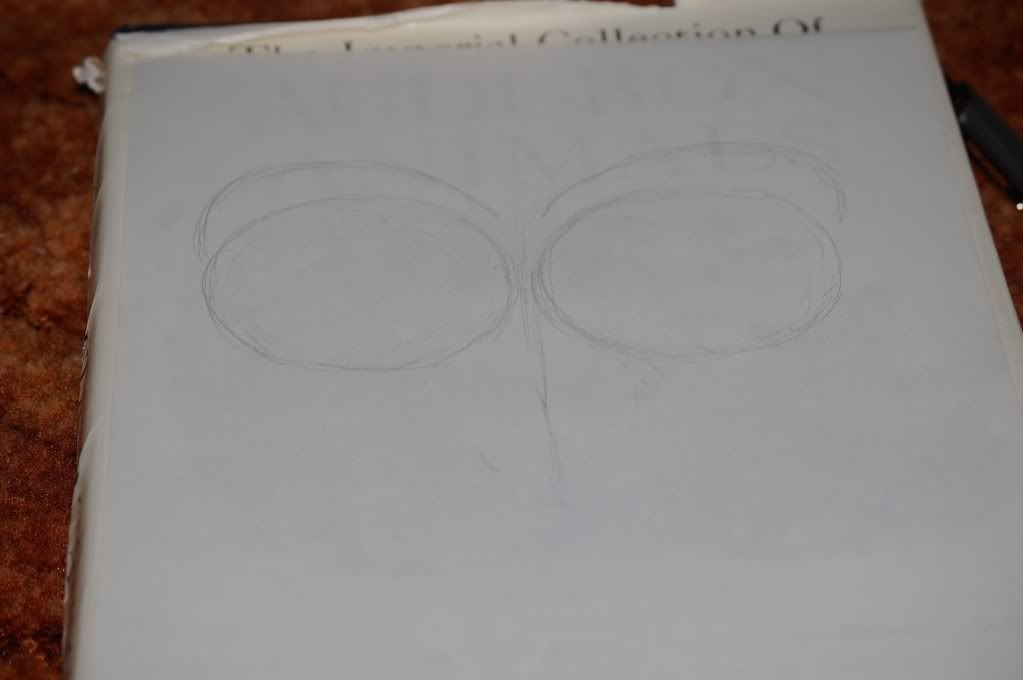
Start out by drawing his two giant eyeballs. Make a line down the middle to split his face in half and draw a few curves above the eyes where the brows will set.
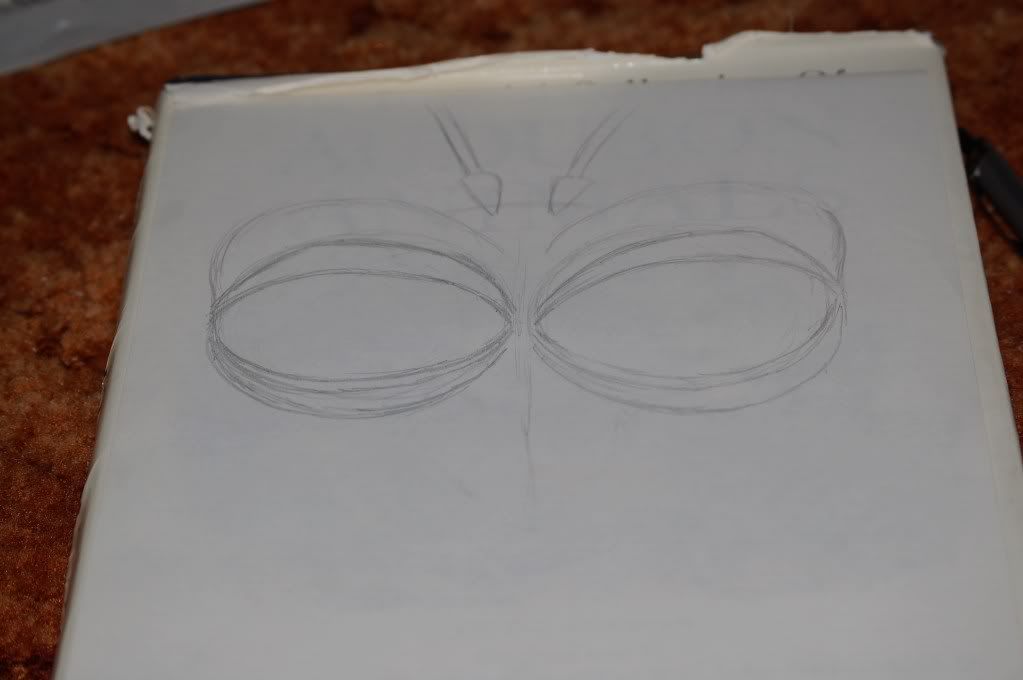
Draw the lids over the eyes. Draw the line at the top of his head that bridges from one eye to the next and put his anntenae on top.
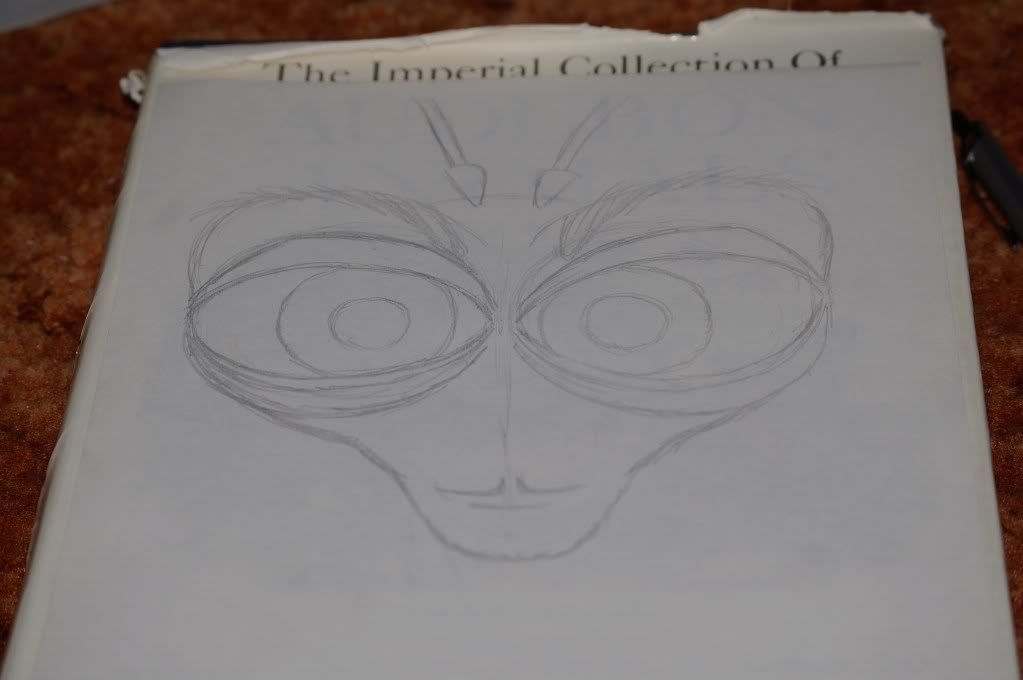
Draw in his face, mouth, and moustache thingy. Put in his pupils and iris, and make his bushy eyebrows.
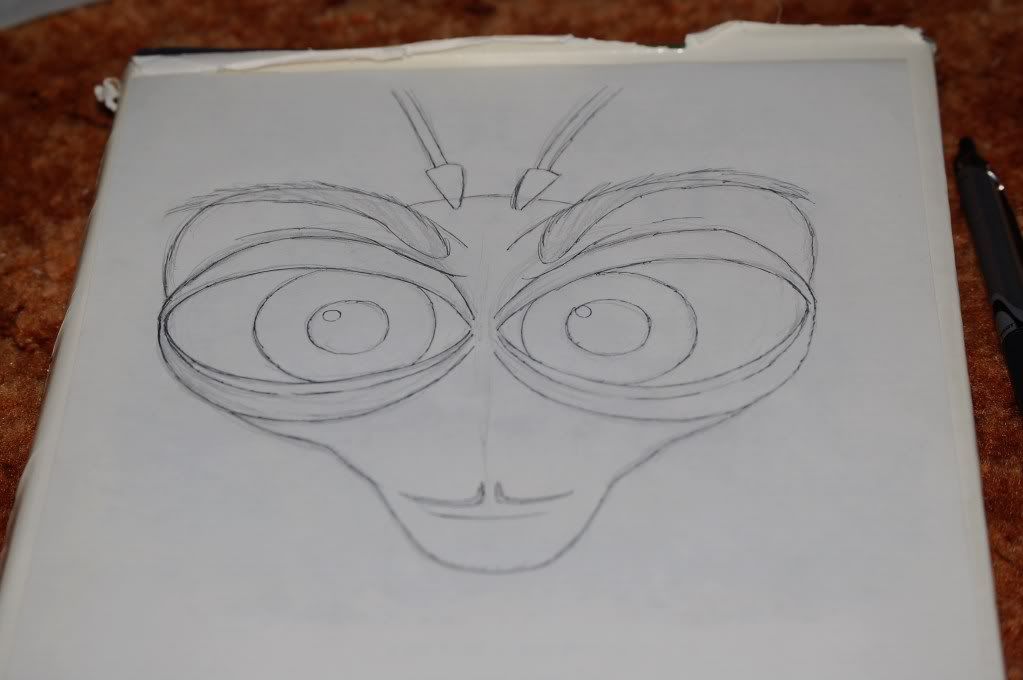
Outline him with the pen that is running low on ink and wait for it to dry. Then erase your pencil marks completely!
Time to color him in!
Eyes.

We're starting with the eyes because I said so. Use your CANARY YELLOW and make crazy zigzag lines around the pupil.
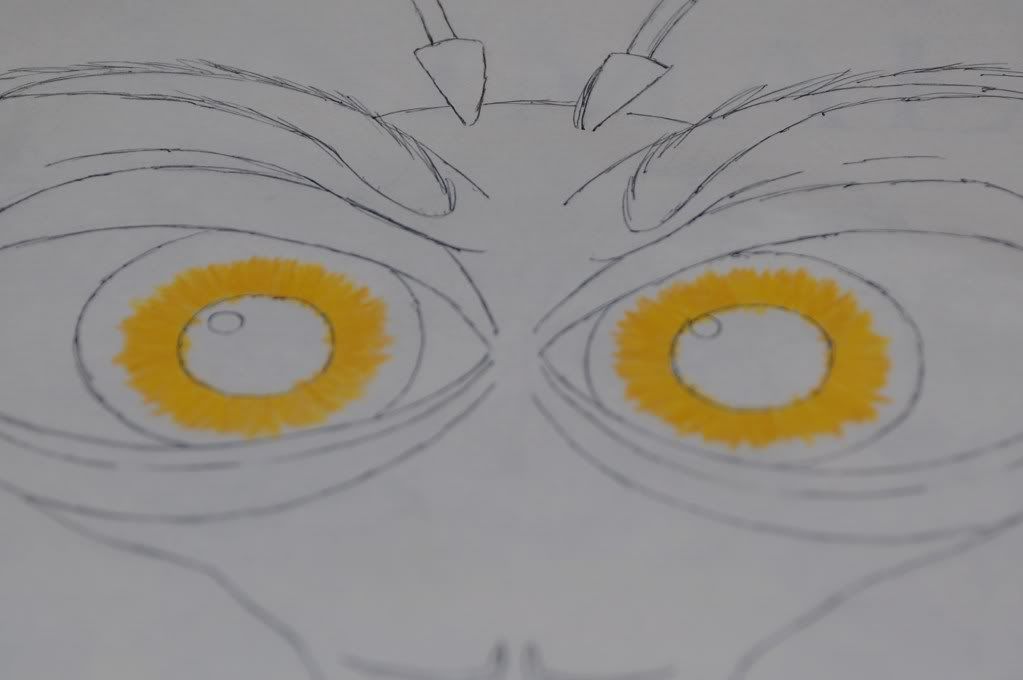
Take your YELLOW ORANGE and do the same over the CANARY YELLOW.
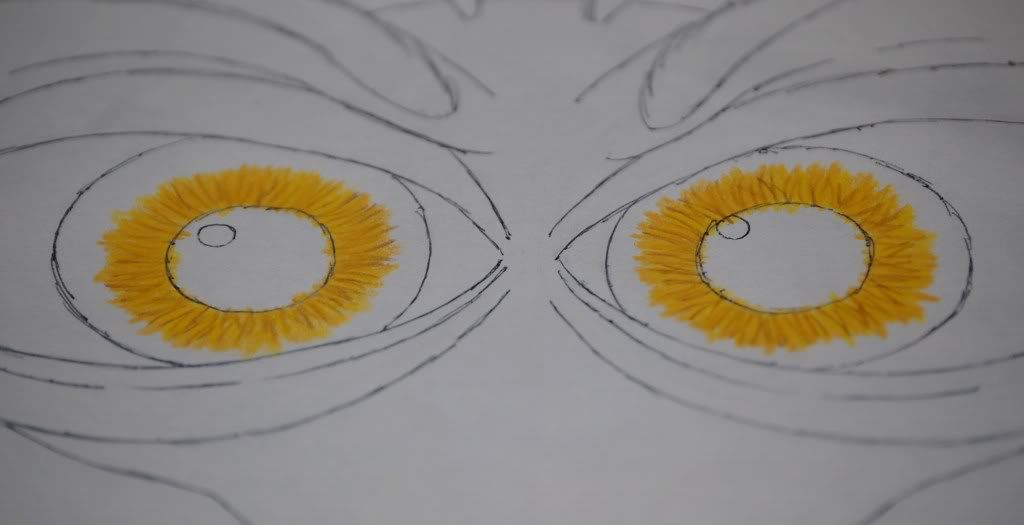
Use your RAW UMBER and make short, hard strokes to make details in the iris.
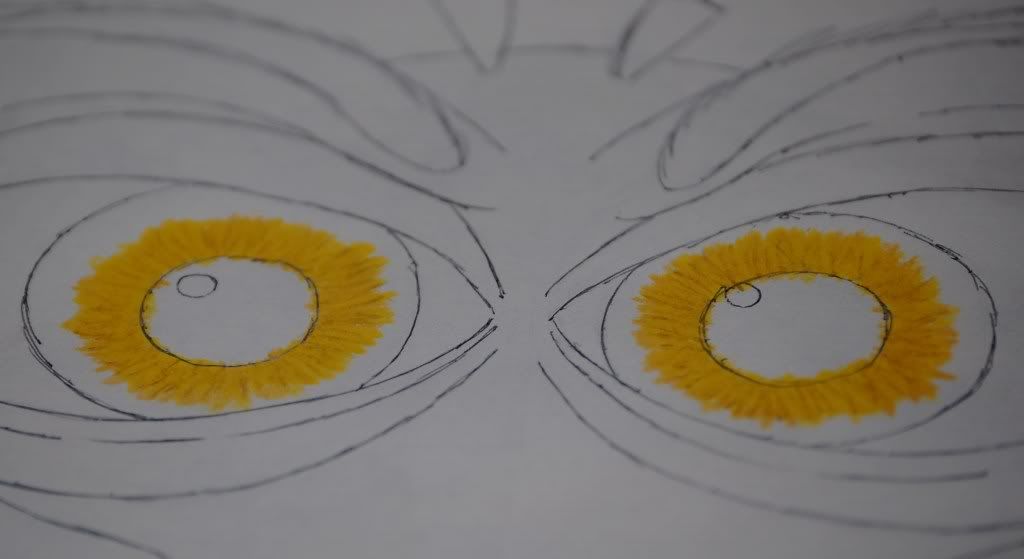
Take your CANARY YELLOW again and go over it hard.

Whip out the DARK BROWN and color in the outside of the iris and color it in good.
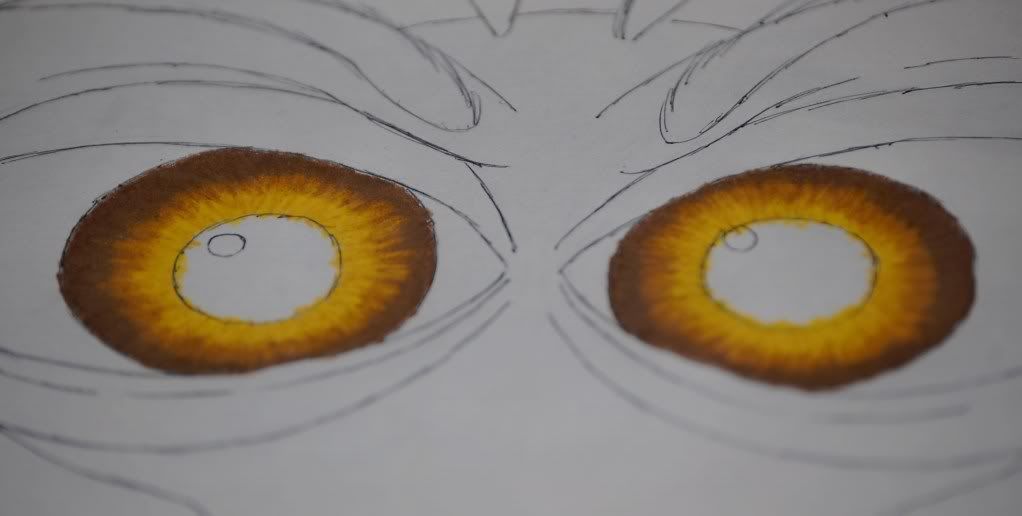
Here is where you get some cool effects! Using your RAW UMBER, make hard lines over the DARK BROWN and go in half-way into the yellows. Blend them in nicely and you'll get beautiful realistic eye effects!
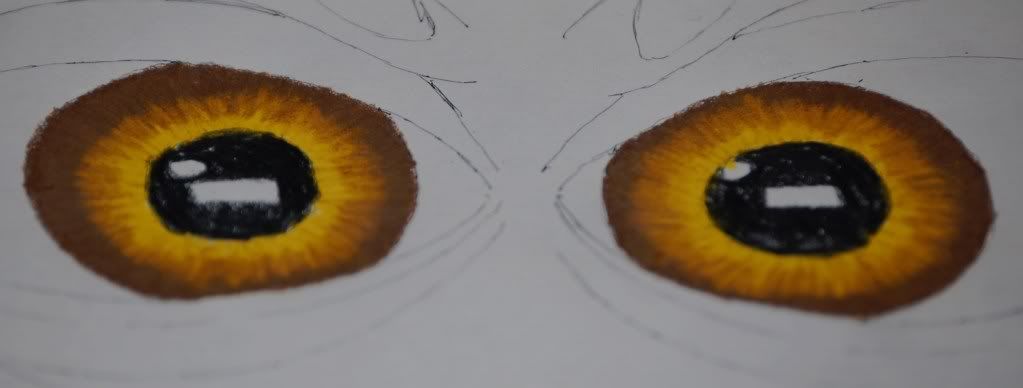
Pick up the BLACK and fill in the pupil and go over it with ULTRAMARINE. Leave some white areas to make reflective effects.

For the rectangular area of white, color it in with WARM GREY VERY LIGHT and blend the sides in with the pupil only a little bit.

As for shadowing in the eye whites, color the darkest areas with COLD GREY LIGHT and the slightly lighter areas with WARM GREY VERY LIGHT. Blend in the lighter grey with the darker, then smooth out the light grey with WHITE.
Head.
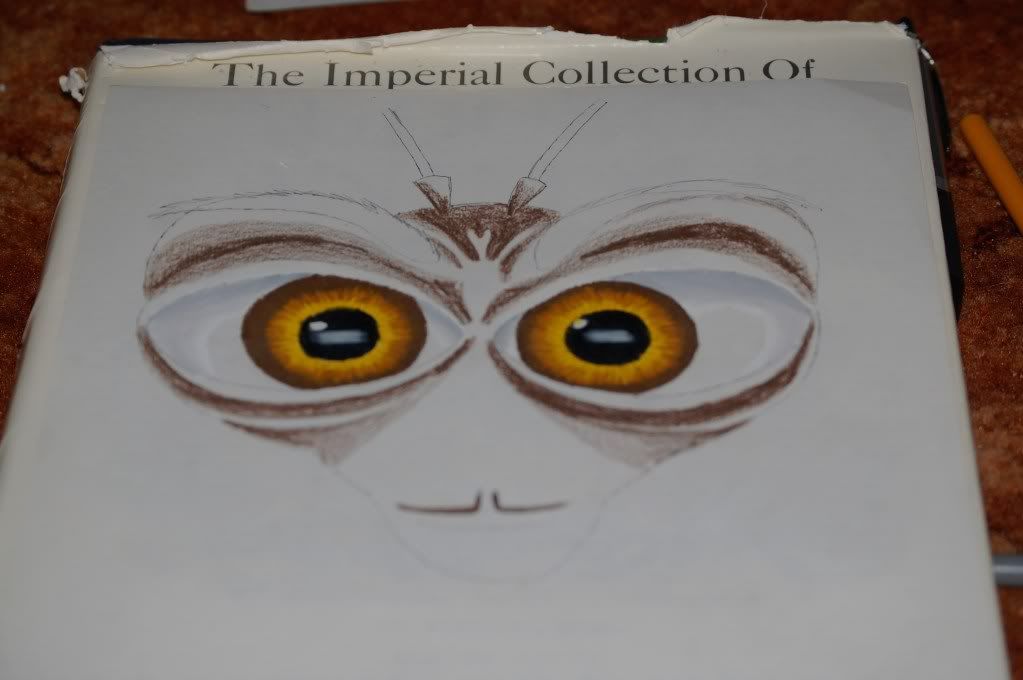
Get out that DARK BROWN and color in those dark areas on his head.
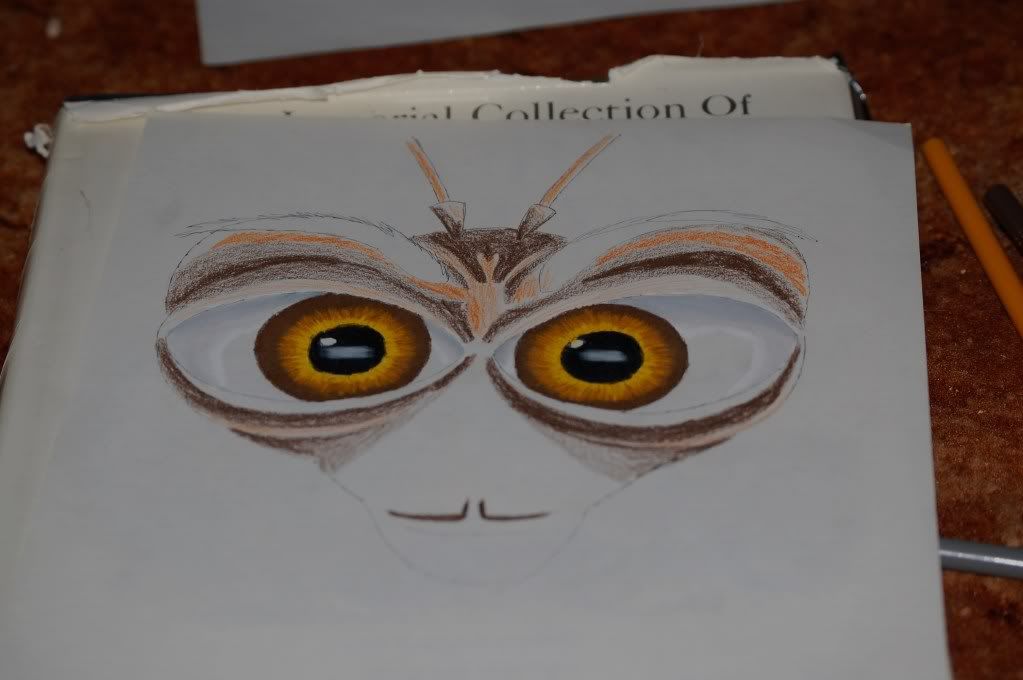
Using your ORANGE, go over the light areas.
Face.
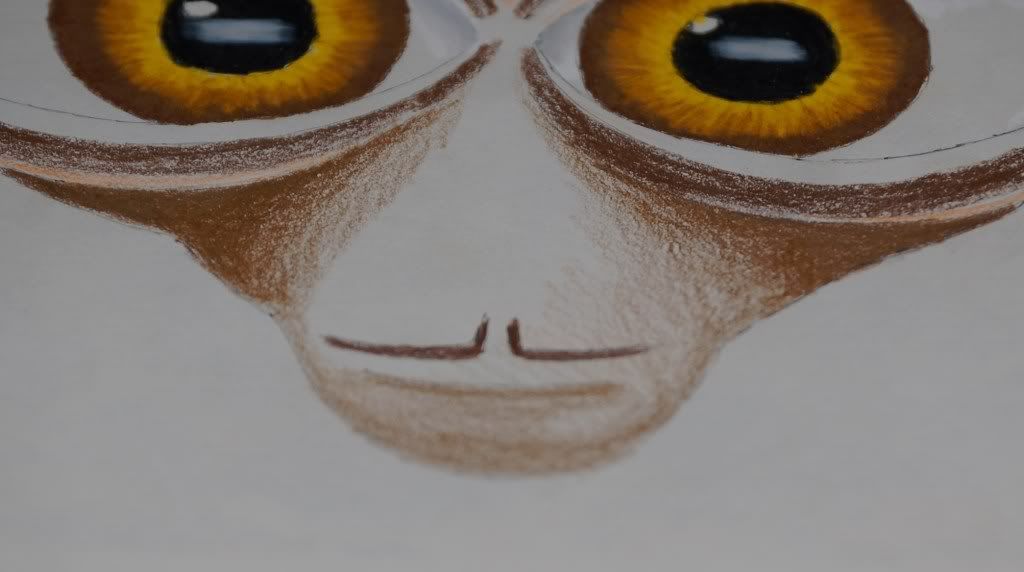
Start out with RAW UMBER. Blend it with the DARK BROWN and use it lightly to shade the areas on his face.
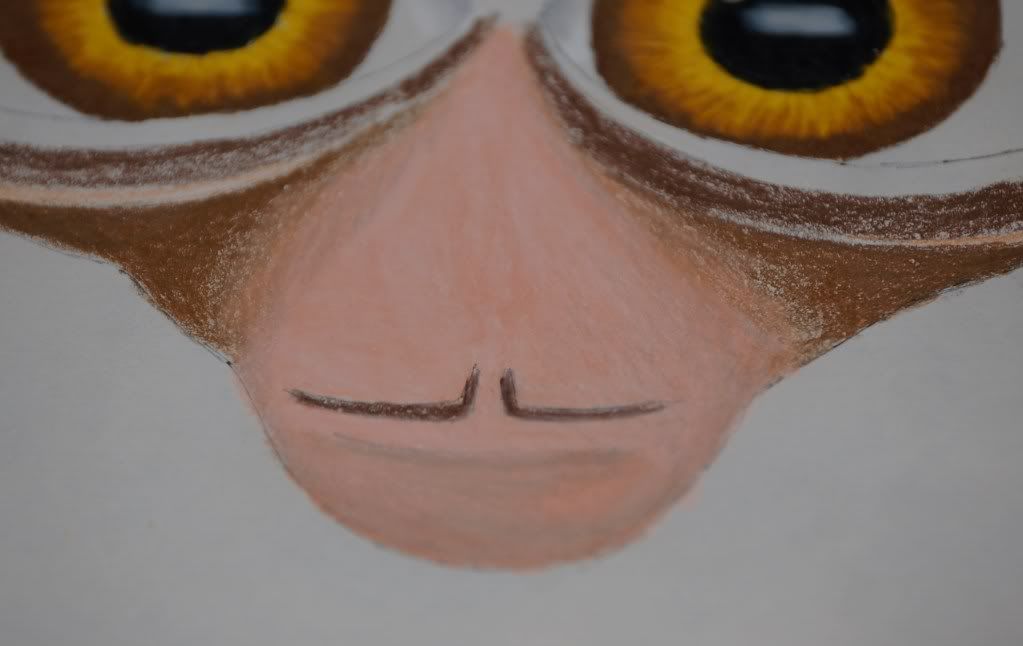
Go over the white of the face with FLESH, then go over that with LIGHT FLESH in order to get a nice eye-popping skin color.
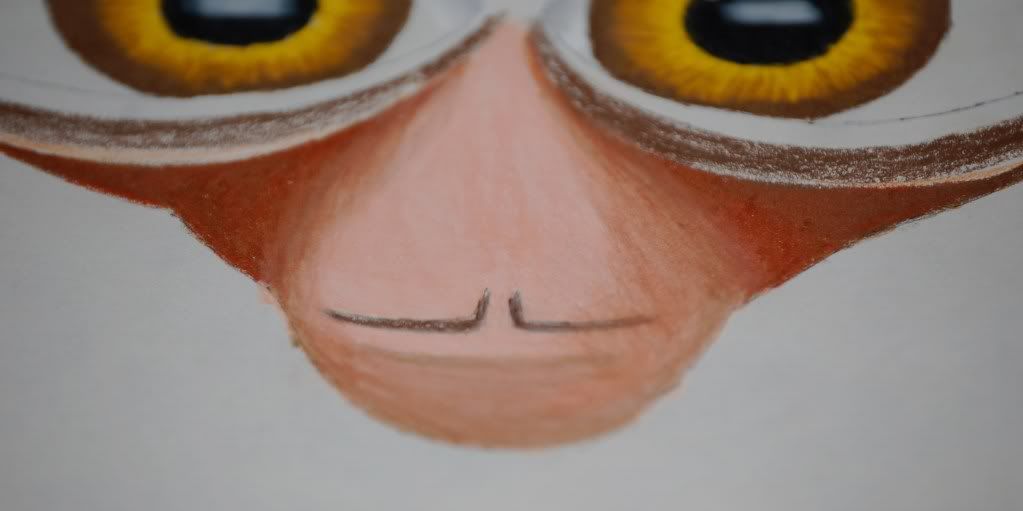
Get out your trusty TERRA COTTA and color in with the darker browns and cheeks. Take BURNT OCHRE and blend it in with the dark browns and TERRA COTTA and go into the flesh colors a bit. Also, go over the shaded areas on the face with it. Blend the shaded face and BURNT OCHRE with the fleshes with FLESH.
Eyelids.
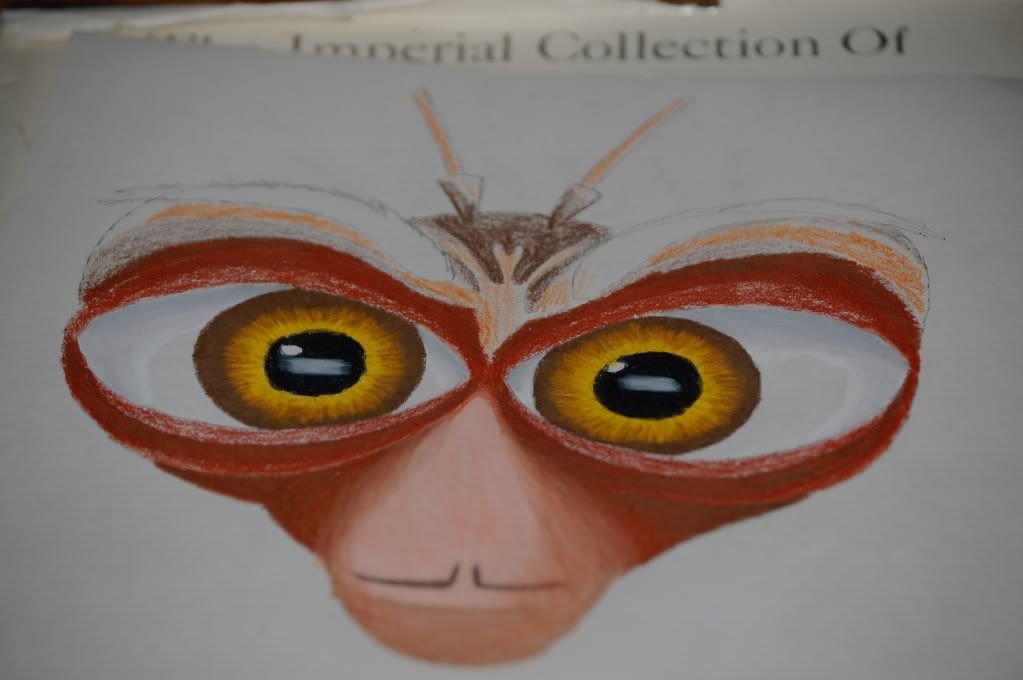
Color in the eyelids with TERRA COTTA. Color softly over the lighter areas.
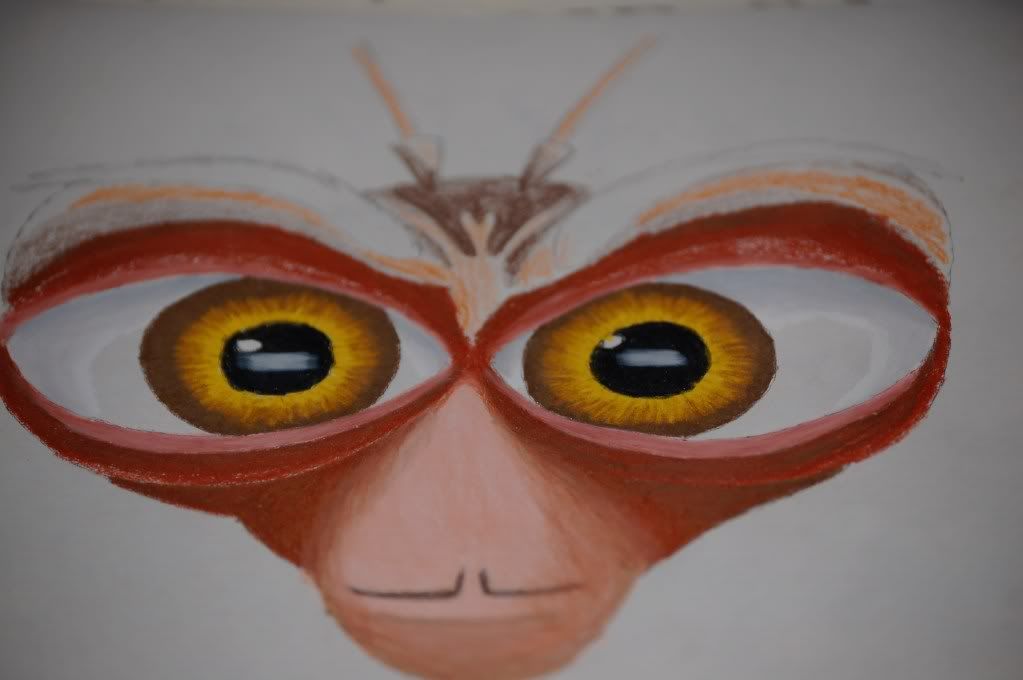
Using BLUSH, color the bottom lids and the very edge of the top ones.
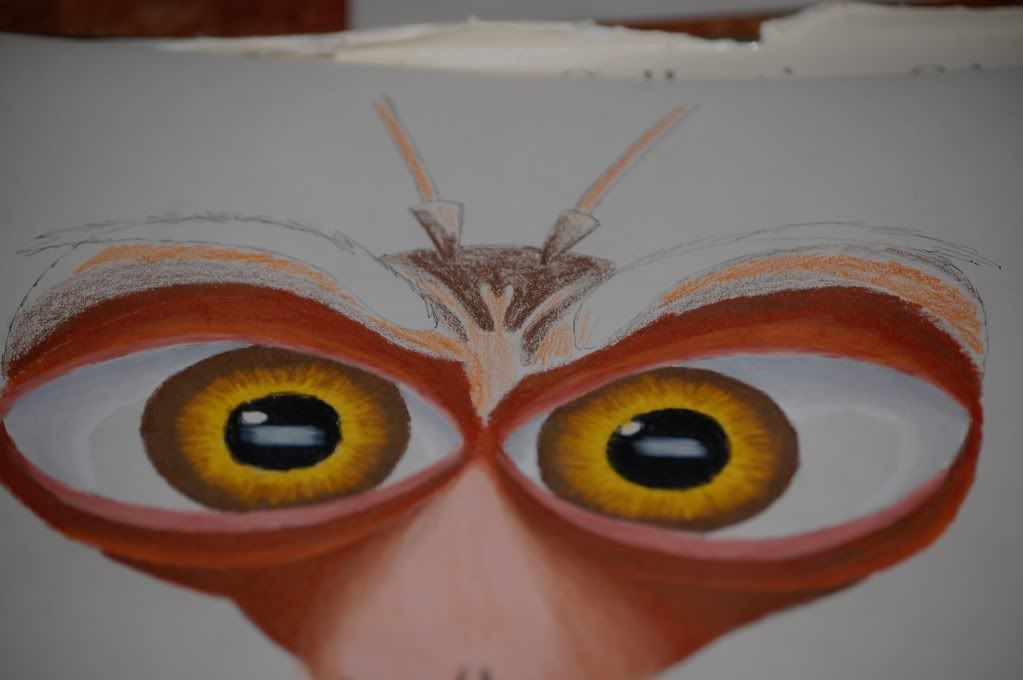
Color the rest of the top lids and the very bottom of the socket ORANGE. Blend it in nicely with the TERRA COTTA.
Top of the Head.
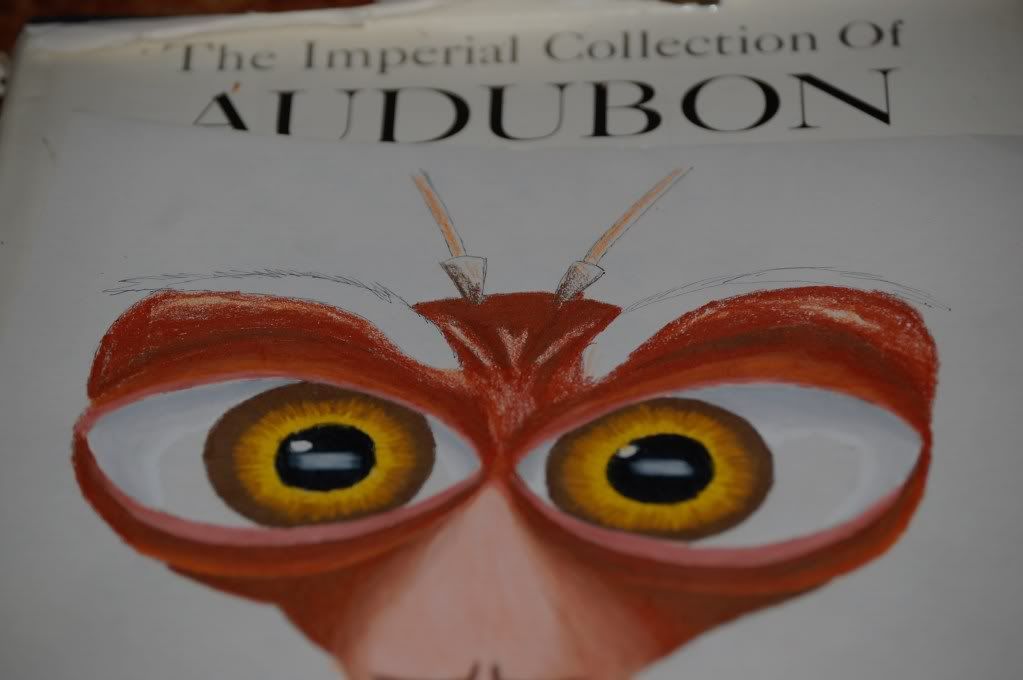
Reach for your TERRA COTTA again and color the rest of the head, excluding the light areas.
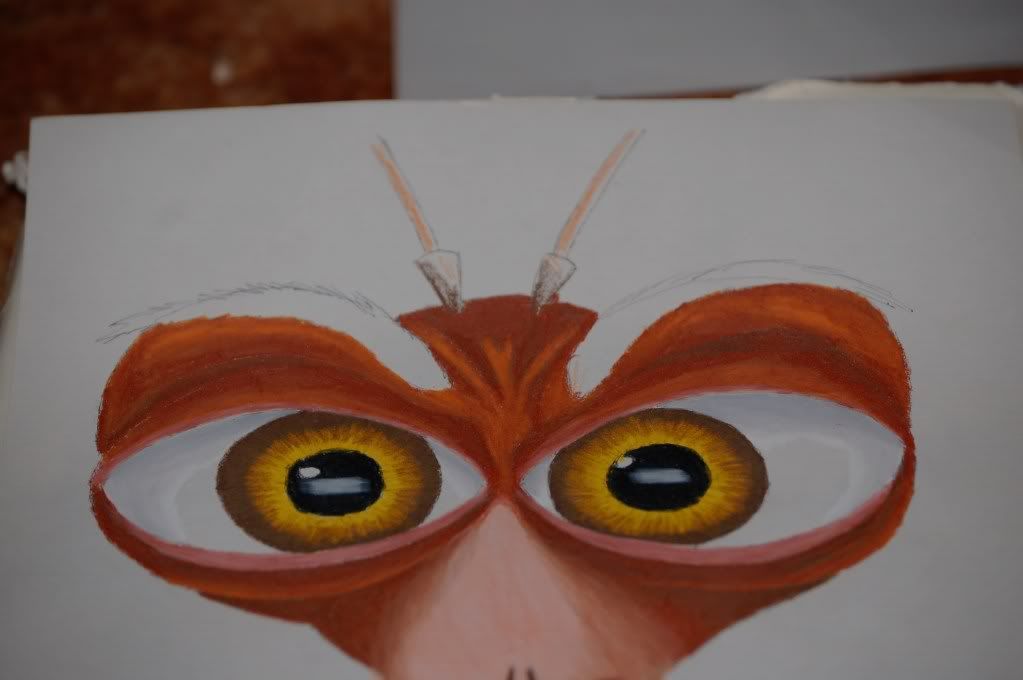
Color in the rest of the unfinished areas with ORANGE.
Anntenae.
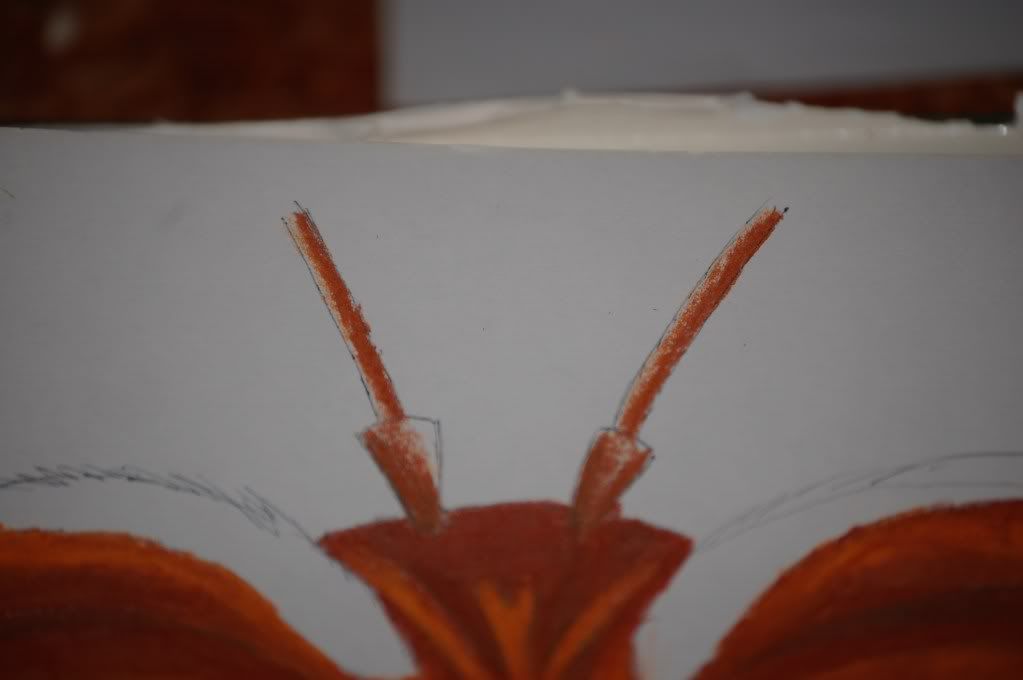
Go over the darker areas with TERRA COTTA.
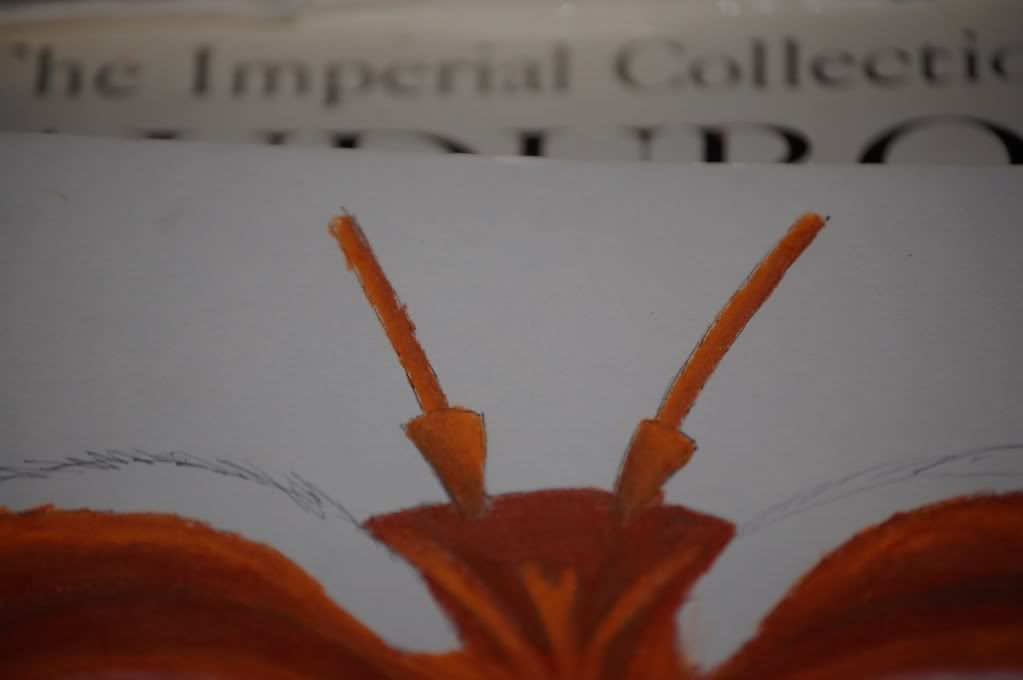
Again, fill in the rest with ORANGE.
Finishing up.
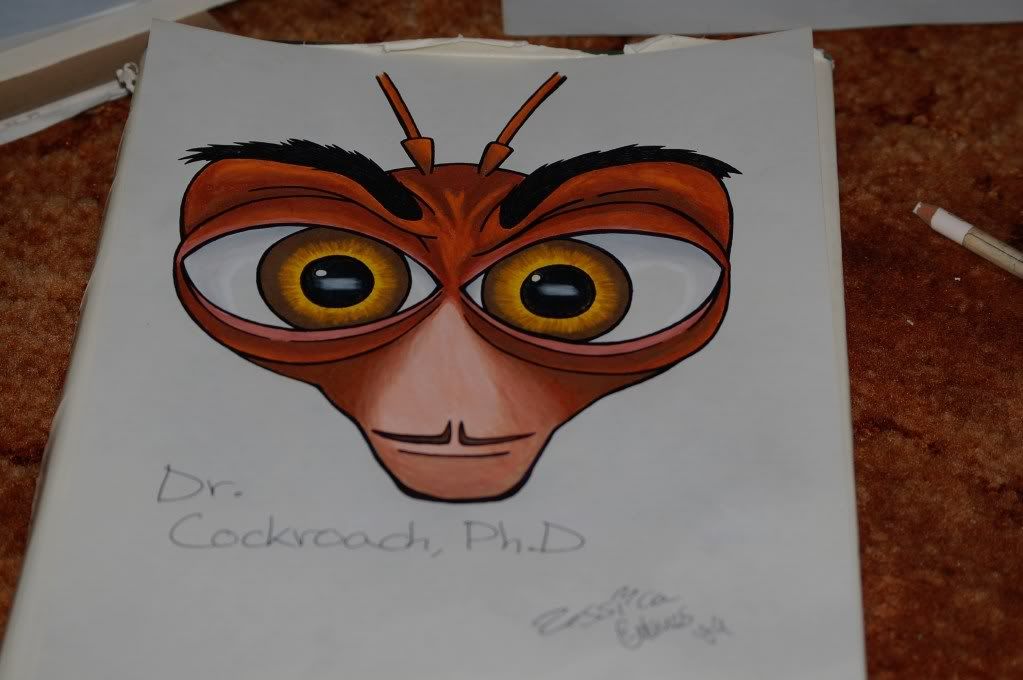
Ink him out and sign it! Hooray we're done!
Okay, I have a confession to make... That was actually my first time coloring Dr. Cockroach. Somehow, I knew what colors to choose and how to lay them down. I don't know how I do it, it's just something I can do.
Thanks for checking it out! ^__^
Colors You'll Need:
1. Black.
2. Terra Cotta.
3. Burnt Ochre.
4. Raw Umber.
5. Dark Brown.
6. Canary Yellow.
7. Yellow Orange.
8. Orange.
9. Flesh.
10. Light Flesh.
11. Blush.
12. Ultramarine.
13. Warm Grey Very Light.
14. Cold Grey Light.
15. White.
Let's get started!

Start out by drawing his two giant eyeballs. Make a line down the middle to split his face in half and draw a few curves above the eyes where the brows will set.

Draw the lids over the eyes. Draw the line at the top of his head that bridges from one eye to the next and put his anntenae on top.

Draw in his face, mouth, and moustache thingy. Put in his pupils and iris, and make his bushy eyebrows.

Outline him with the pen that is running low on ink and wait for it to dry. Then erase your pencil marks completely!
Time to color him in!
Eyes.

We're starting with the eyes because I said so. Use your CANARY YELLOW and make crazy zigzag lines around the pupil.

Take your YELLOW ORANGE and do the same over the CANARY YELLOW.

Use your RAW UMBER and make short, hard strokes to make details in the iris.

Take your CANARY YELLOW again and go over it hard.

Whip out the DARK BROWN and color in the outside of the iris and color it in good.

Here is where you get some cool effects! Using your RAW UMBER, make hard lines over the DARK BROWN and go in half-way into the yellows. Blend them in nicely and you'll get beautiful realistic eye effects!

Pick up the BLACK and fill in the pupil and go over it with ULTRAMARINE. Leave some white areas to make reflective effects.

For the rectangular area of white, color it in with WARM GREY VERY LIGHT and blend the sides in with the pupil only a little bit.

As for shadowing in the eye whites, color the darkest areas with COLD GREY LIGHT and the slightly lighter areas with WARM GREY VERY LIGHT. Blend in the lighter grey with the darker, then smooth out the light grey with WHITE.
Head.

Get out that DARK BROWN and color in those dark areas on his head.

Using your ORANGE, go over the light areas.
Face.

Start out with RAW UMBER. Blend it with the DARK BROWN and use it lightly to shade the areas on his face.

Go over the white of the face with FLESH, then go over that with LIGHT FLESH in order to get a nice eye-popping skin color.

Get out your trusty TERRA COTTA and color in with the darker browns and cheeks. Take BURNT OCHRE and blend it in with the dark browns and TERRA COTTA and go into the flesh colors a bit. Also, go over the shaded areas on the face with it. Blend the shaded face and BURNT OCHRE with the fleshes with FLESH.
Eyelids.

Color in the eyelids with TERRA COTTA. Color softly over the lighter areas.

Using BLUSH, color the bottom lids and the very edge of the top ones.

Color the rest of the top lids and the very bottom of the socket ORANGE. Blend it in nicely with the TERRA COTTA.
Top of the Head.

Reach for your TERRA COTTA again and color the rest of the head, excluding the light areas.

Color in the rest of the unfinished areas with ORANGE.
Anntenae.

Go over the darker areas with TERRA COTTA.

Again, fill in the rest with ORANGE.
Finishing up.

Ink him out and sign it! Hooray we're done!
Okay, I have a confession to make... That was actually my first time coloring Dr. Cockroach. Somehow, I knew what colors to choose and how to lay them down. I don't know how I do it, it's just something I can do.
Thanks for checking it out! ^__^


